If your oak cabinets are solid but stuck in 1998, you don’t need new ones. You need a finish that sticks.
Key takeaways
- Cabinet finish failure is nearly always a prep failure: grease, a glossy surface or no bonding primer, not a bad paint brand.
- Open oak grain shows through paint unless it’s filled with grain filler or a fill coat and sanded flat first.
- Murphy’s oil soap can leave a residue, so degrease with a proper degreaser and rinse before refinishing.
- A shop-sprayed waterborne urethane lacquer job takes 5-10 days with doors off-site and carries a 3-year written warranty, versus a week or more for DIY.
- Refinishing runs about 70% below replacement, and the final price depends on door count, drawer count, condition and finish.
Below is how to refinish kitchen cabinets the way a cabinet shop does it, worked through on one typical honey-oak kitchen. We have refinished kitchen cabinets in Boulder County since 1976, and the lesson hasn’t changed in 50 years.
Finish failure is nearly always a prep failure. Grease, a glossy surface and a missing bonding primer cause far more peeling than any bad can of paint.
How to Refinish Kitchen Cabinets, Step by Step: One Oak Kitchen From Start to Finish
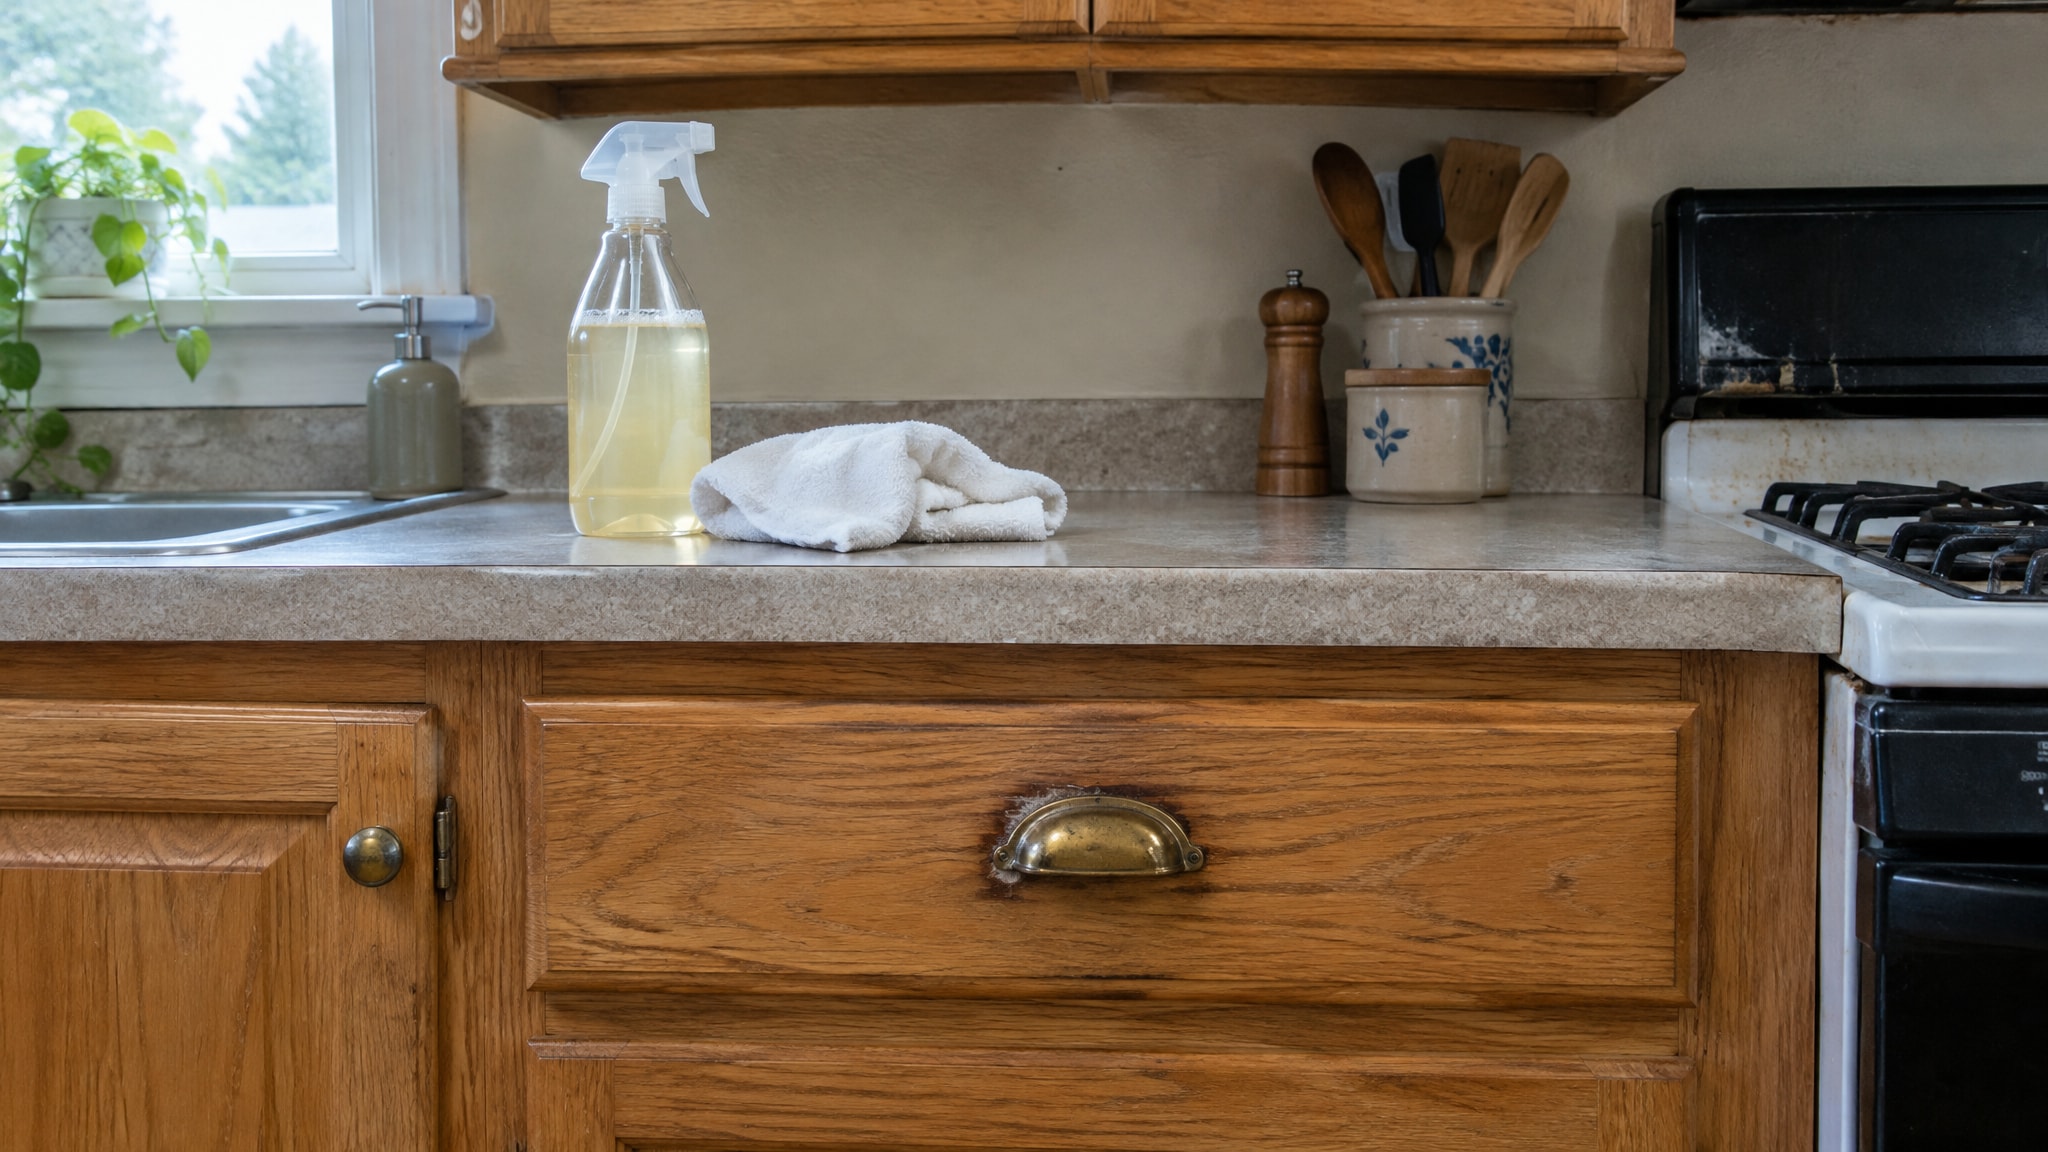
Picture a kitchen we see all the time. The doors, drawer fronts and face frames are honey oak in sound shape, with a yellowed finish. The surface near the range feels slightly tacky, and every handle has a dark ring of hand oil around it. Nothing is broken. It just looks dated.
DIY brushed paint vs shop-sprayed finish
| DIY brushed paint | Shop-sprayed finish | |
|---|---|---|
| Prep | Whatever time you have | Degrease, sand, fill, prime |
| Finish | Softer film, chips at edges | Hard urethane lacquer |
| Look | Brush marks, grain shows | Smooth, even, factory look |
| Time | A week or more | 5-10 days |
| Warranty | No written backing | 3-year written |
Here is the order the job happens in, and what each step prevents.
-
Everything comes off, and everything gets labeled. Doors, drawer fronts, hinges and hardware are removed, and each piece is numbered to match its opening. Flat doors can be finished on every edge, while doors left hanging get paint in the hinges and drips along the bottom. Skip the labels and you lose an afternoon working out which door belongs where.
-
Degreasing comes before anything else touches the wood. Grease is the top cause of peeling we see, and it hides in the two worst places: around the handles and above the range. A finish will not bond to it. Sanding over it only grinds it into the grain. Use a proper degreaser, then rinse and let the wood dry. Murphy’s oil soap is a common first reach, but oily soaps can leave a residue of their own, so skip it before a refinish.
-
Sanding scuffs the old finish and opens the grain. A glossy factory finish gives new coatings nothing to grip. We sand every surface to a dull, even scuff, then fill dings, nail holes and any old hardware holes you won’t reuse. Filler that isn’t sanded flush shows through the final coat as a bump.
-
Oak grain gets its own step. Oak has open pores, like tiny grooves running through each board. Paint over them and the grain shows through, with a texture you can see and feel. A smooth look takes grain filler or a fill coat, sanded flat before priming. Some owners like visible grain, and that’s a fair choice, but make it on purpose. This is the step DIY jobs skip most often, because it adds days.
-
A bonding primer goes on next. Sanded oak is still slick and oily in the pores, so the primer is what ties the topcoat to the wood. Leave it out and the finish lifts first at the edges and corners.
-
Finish goes on in thin coats, with light sanding between them. Thick coats sag, trap moisture and stay soft. Thin coats dry evenly, and a quick scuff between coats keeps each layer bonded to the last. Then comes real cure time. A door that feels dry after a day can still dent or print when it’s stacked or rehung.
-
Reinstall and adjust. Doors go back on, hinges get tuned so the gaps run even and every door closes flush, and hardware goes on last. Rush this and you leave fingerprints in a finish that hasn’t hardened.
One honest limit: refinishing fixes the surface. It does not repair swollen, delaminated or water-damaged boxes, and no finish, ours included, is chip-proof.
Where brushed latex falls short
Most homeowners who tackle this themselves brush or roll on latex paint. We understand why: the supplies are cheap and the kitchen is right there. The limits show up fast, though.
Brush and roller marks stay visible in the sheen, the film stays softer than a cured lacquer, and the edges chip first because that’s where hands, pans and dishwasher doors hit. Unfilled oak grain telegraphs through every coat.
Careful prep narrows the gap, but it doesn’t close it. And a DIY job realistically takes a week or more once you count drying between coats, with doors spread across a garage and a kitchen that’s half out of service.
We are not a house painter. Our doors and drawer fronts leave your house and get sprayed in a controlled shop booth with waterborne precatalyzed or crosslinking urethane lacquer. The booth keeps dust off the wet finish, the spray lays it down evenly, and the low-VOC waterborne formula cures into a hard, factory-style surface. You can see the full sequence in our factory finish process.
The doors are away for 5-10 days, and then we reinstall them.
| DIY brushed paint | Shop-sprayed factory finish | |
|---|---|---|
| Prep | Whatever time you have | Degrease, sand, fill, prime, every time |
| Finish | Softer film, chips at edges | Hard urethane lacquer |
| Look | Brush marks, grain shows through | Smooth, even, factory look |
| Time | A week or more with drying | 5-10 days, doors off-site |
| Warranty | No written workmanship backing | 3-year written warranty |
Seven steps is the whole job, and a shop doesn’t skip any of them. The difference is the booth, the lacquer and the person standing behind the work in writing.
What Refinishing Kitchen Cabinets Costs Compared With Replacing Them
Refinishing runs far below replacement. Our work comes in about 70% below the cost of new cabinets, because your boxes stay in place and you pay for finishing, not for new construction.
What sets your price is the number of doors and drawer fronts, the condition they’re in, and the finish you pick. A kitchen with heavy grease and gouged edges takes more prep than one that’s been kept up. That’s why we price after we see your cabinets and don’t quote numbers over the phone.
If you want the full picture, what cabinet refinishing costs in Boulder County breaks down the factors. For the side-by-side math, read the real cost gap between refinishing and replacing. And if the question is whether your cabinets are worth saving at all, start with refinishing versus replacing your cabinets.
When DIY Refinishing Makes Sense and When to Hand It to a Shop
DIY can be the right call, and we’ll say so. It suits you if the space is small, the doors are flat-panel, and you have the patience to let each coat cure before the next. A laundry room or a bathroom vanity is a fair place to learn.
Hand it to a shop when any of these is true:
- ✓ Your cabinets are oak with deep, open grain
- ✓ You want a sprayed-smooth look with no brush marks
- ✓ Durability matters, because the kitchen gets daily use
- ✓ You want a written warranty behind the finish
Color decides whether the job still looks right in a few years. Colors tied to one moment date fastest, so the bolder the trend color, the sooner you’ll want to redo it. Timeless neutrals hold up better, and so does a two-tone scheme that pairs a quiet neutral with one deeper tone. Pick a color you could live with if the trend moved on.
If your cabinets are sound but dated, we’d like to look at them. Request a free estimate and we’ll see the doors, check the condition and quote the job.
Frequently asked questions
What’s the average cost to refinish kitchen cabinets?
Refinishing runs about 70% below the cost of replacing cabinets. The price depends on how many doors and drawer fronts you have, their condition and the finish you choose. We quote after seeing your cabinets, so we don’t give exact figures without a look.
Is Murphy’s oil soap good for painted cabinets before refinishing?
No. Oily soaps can leave a residue that a new finish won’t bond to. Use a proper degreaser, rinse, and let the surface dry before sanding.
What kitchen cabinet colors look dated fastest?
Bold colors tied to a single trend date fastest. Timeless neutrals and two-tone schemes hold up better, so choose a color you could live with if the trend moved on.
What makes a kitchen look cheap?
On cabinets, the usual giveaways are visible brush marks, uneven sheen, oak grain showing through paint and chipped edges. A filled, sprayed, hard-cured finish avoids all four.