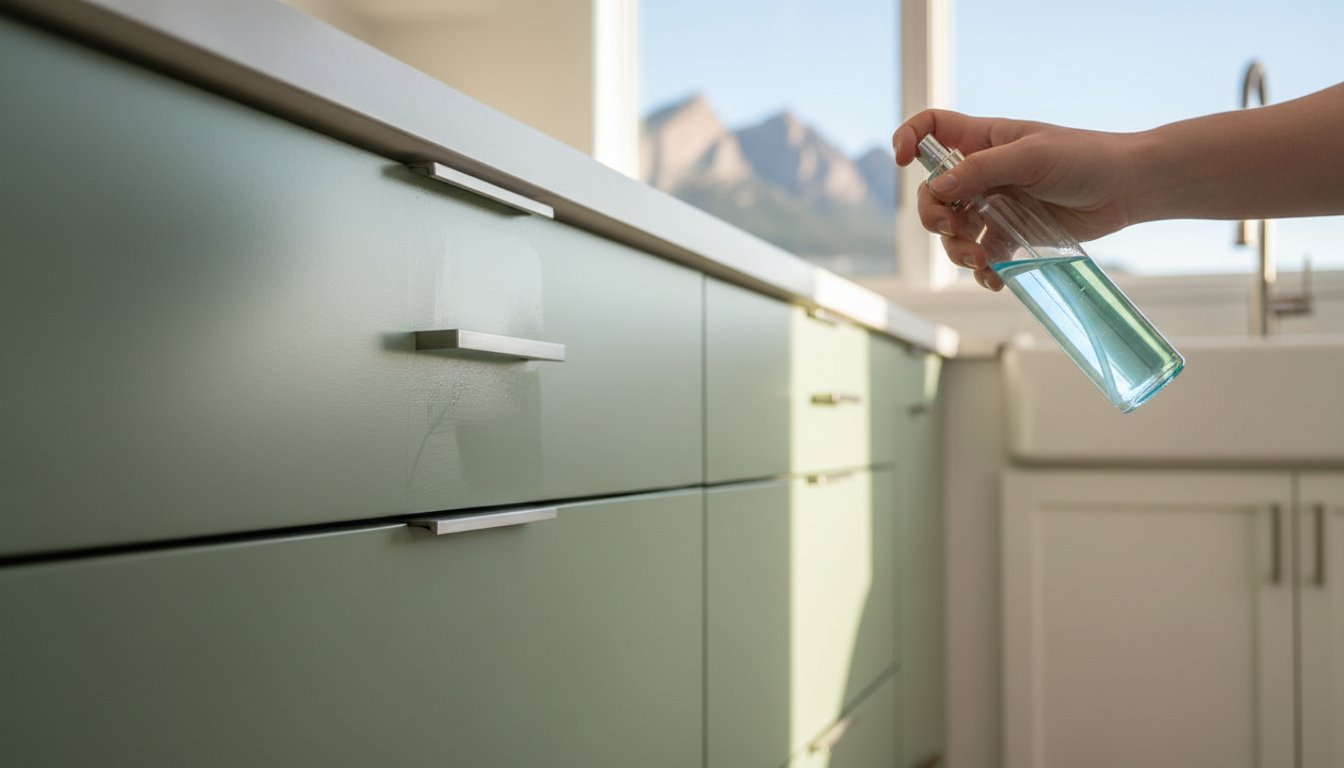
A bottle of generic degreaser can destroy a professional cabinet finish in less than 60 seconds. You likely spent a significant amount of money to achieve a smooth, factory-like look, so learning how to clean painted kitchen cabinets without damaging the surface is vital. It’s normal to worry about scratching the finish or using the wrong chemicals. Most homeowners in Denver and Boulder feel stuck between sticky grease buildup near the stove and conflicting advice found online. You don’t want to ruin your investment with a scrub brush or acidic vinegar solutions.
We agree that your cabinets should stay as beautiful as the day they were finished. This guide reveals the professional maintenance methods we’ve used for 45 years in cities like Lafayette and Arvada. You’ll learn the specific routine required to keep your kitchen grease-free while preserving the coating for 10 years or more. We’re going to show you a simple, repeatable process that protects your kitchen without the risks associated with amateur cleaning advice.
Key Takeaways
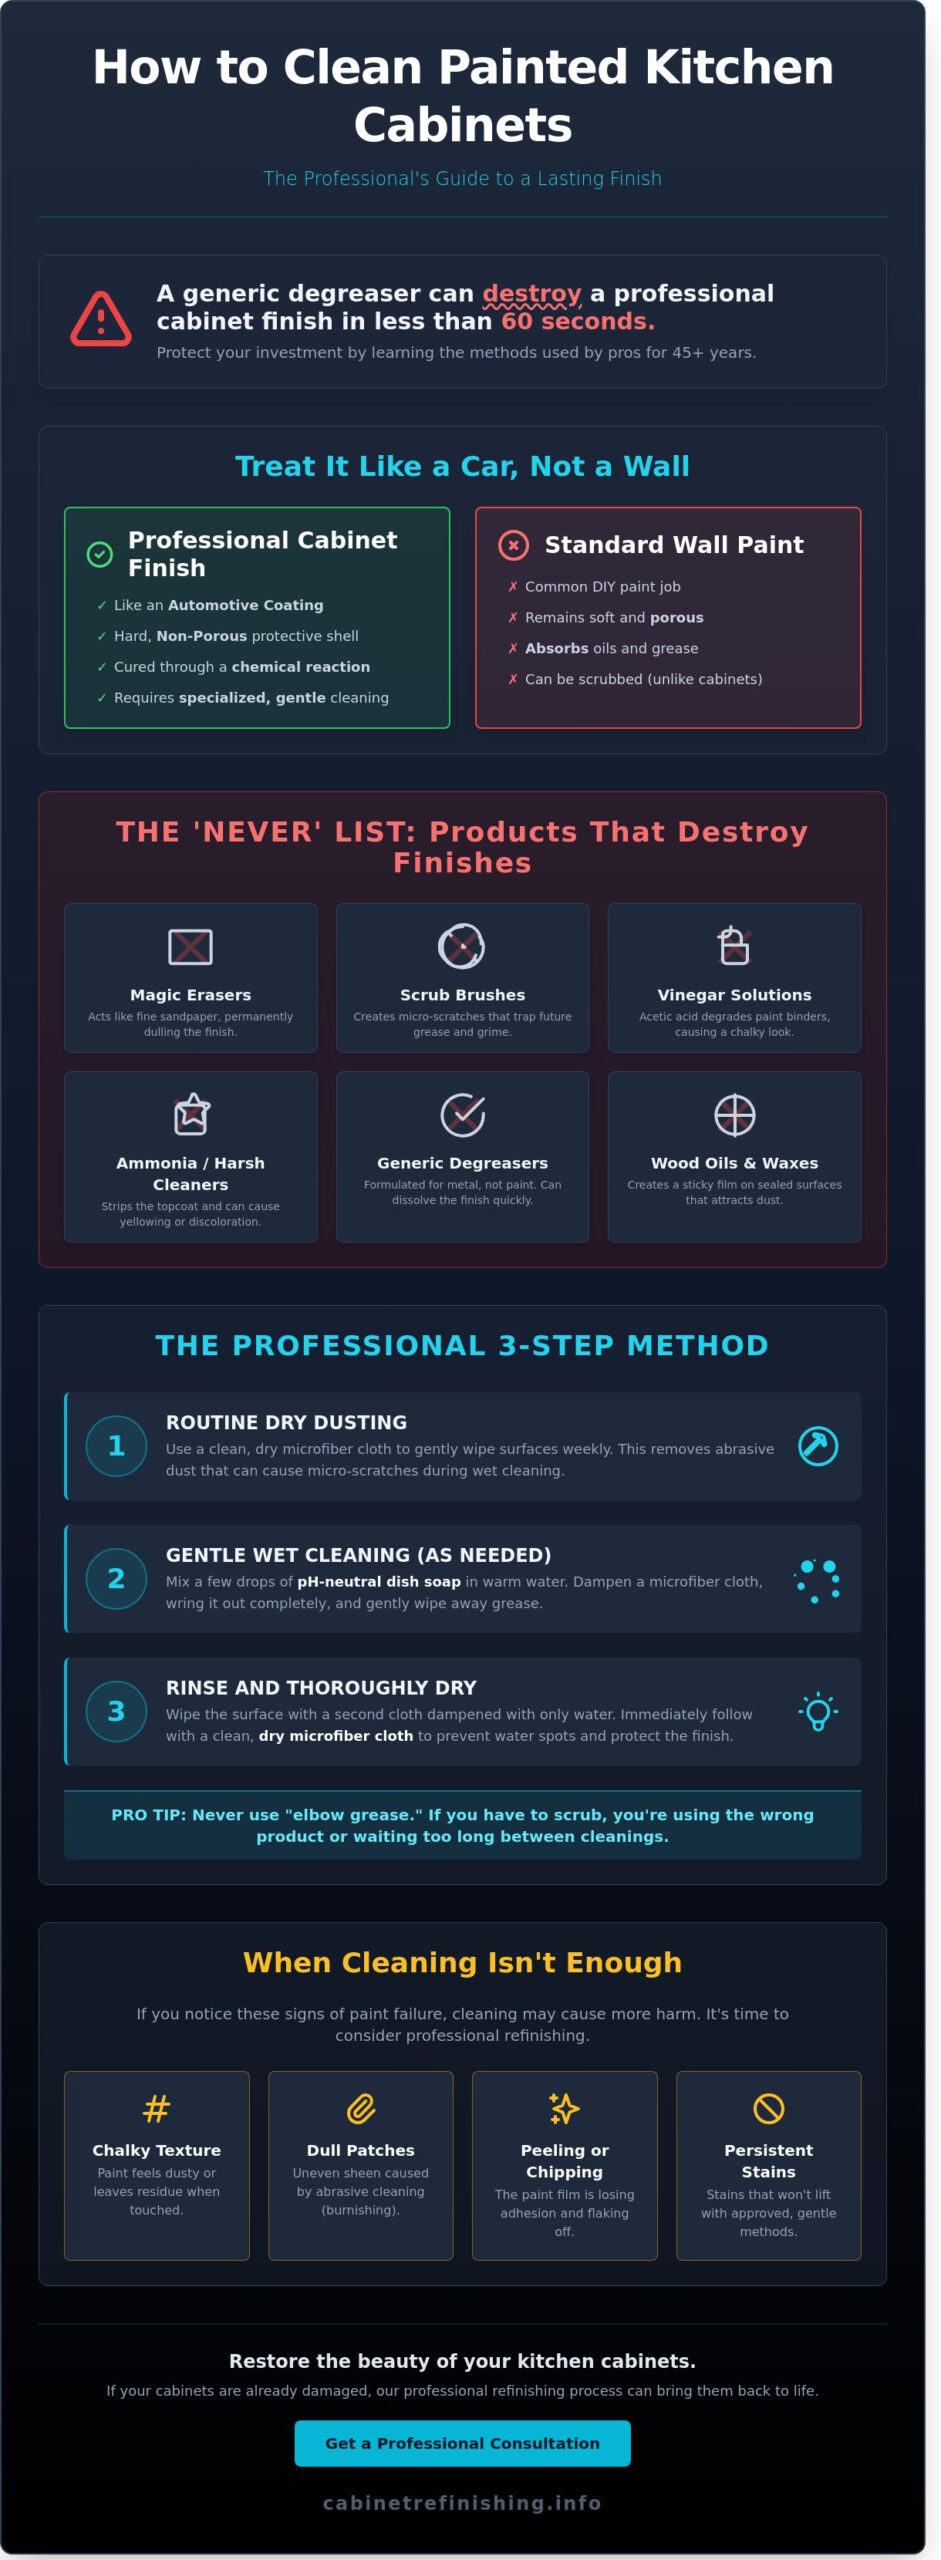
- Understand why professional factory finishes require a specialized approach similar to an automotive coating rather than standard wall paint.
- Identify the “Never List” of household products, such as Magic Erasers and ammonia, that can permanently strip the sheen or yellow your cabinets.
- Learn the professional framework for how to clean painted kitchen cabinets using pH-neutral solutions to prevent grease from polymerizing on the surface.
- Discover specific dry-dusting techniques essential for the Boulder climate to remove abrasive particulates before they cause micro-scratches.
- Recognize the clear signs of paint failure that indicate cleaning is no longer sufficient and professional refinishing is necessary to protect your investment.
Why Cleaning Painted Kitchen Cabinets Requires a Specialized Approach
Most homeowners treat their cabinets like an extension of their walls. This is a mistake that leads to permanent surface damage. Learning how to clean painted kitchen cabinets starts with understanding that professional coatings are engineered differently than standard latex wall paint. Since 1985, Cabinet Refinishing Boulder has seen thousands of homeowners ruin high-end finishes by using aggressive scrubbing techniques meant for floors or countertops. A professional cabinet coating is actually closer to an automotive finish than it is to the paint on your drywall.
To better understand this concept, watch this helpful video:
Professional finishes are non-porous and designed to repel moisture. This differs significantly from DIY paint jobs, which often remain soft and porous, absorbing oils and grease into the film. When you attempt to clean these surfaces, you aren’t just wiping away dirt; you’re interacting with a complex chemical bond. Modern waterborne coatings used in high-end projects across Denver and Boulder are specifically sensitive to harsh chemicals and high-friction cleaning methods.
The Science of the Finish
Professional coatings cure through a chemical reaction to create a hard, protective shell. A factory finish is a high-durability coating applied via spray application. While this shell is tough, it isn’t invincible. Using abrasive cleaners or rough sponges creates microscopic scratches in the surface. Over the next 6 to 12 months, these tiny grooves trap more grease and kitchen grime than a smooth surface would. This creates a cycle where the homeowner scrubs harder, further damaging the finish and dulling the original luster of the cabinetry.
Common Myths About Cabinet Care
The “all-natural” trend has led many to use vinegar as a primary cleaner. This is a mistake for painted wood. The acetic acid in vinegar can slowly degrade the paint binders, eventually leading to a brittle or “chalky” appearance. Another common error is applying wood oils or furniture waxes. These products are meant for unsealed wood. On a sealed, painted surface, they create a sticky residue that attracts dust and makes the surface nearly impossible to keep clean.
Proper care requires transitioning from general house cleaning to specialized kitchen cabinet painting maintenance. We’ve spent 45 years refining our processes in the local market, and we know that the wrong chemical can ruin a finish in seconds. Stick to gentle, pH-neutral solutions to ensure your cabinets look as good as the day they were sprayed. Protecting your investment in your Boulder or Lafayette home means treating these surfaces with the respect a professional finish deserves.
Knowing how to clean painted kitchen cabinets without using “elbow grease” is the secret to a long-lasting kitchen. If you find yourself needing to scrub, you’re likely using the wrong product or waiting too long between maintenance wipes.
The ‘Never’ List: Products That Destroy Painted Cabinet Finishes
Forty-five years of professional experience in the Denver area has shown us that most cabinet damage doesn’t happen from daily use. It happens during cleaning. Homeowners often reach for heavy-duty products thinking they are being thorough, but they end up stripping the very finish they want to protect. Understanding how to clean painted kitchen cabinets starts with knowing which common household items are actually destructive agents for high-quality coatings.
The Magic Eraser Trap
Many people view the Magic Eraser as a miracle tool for scuffs. In reality, these sponges are made of melamine foam, which acts like 3000-grit to 5000-grit sandpaper. Every time you use one to “spot clean” a cabinet door, you are physically sanding down the topcoat. This process quickly kills the sheen of your finish. If you have a satin or semi-gloss finish, the melamine foam creates a permanent dull patch that reflects light differently than the rest of the kitchen.
Excessive pressure with these pads leads to “burnishing.” This is a common problem we see in Broomfield and Lafayette homes where a finish becomes unnaturally shiny in one specific spot. Once the surface is burnished or the topcoat is thinned by abrasion, the paint becomes porous. It will then absorb grease and moisture much faster than it did before. Avoid these pads entirely to keep your factory-like finish intact.
Chemicals to Keep Out of Your Kitchen
The chemistry of your cleaning solution matters as much as the tool you use. Many off-the-shelf cleaners contain ingredients that cause chemical reactions with professional paints and lacquers. Ammonia is a primary offender. It is a powerful solvent that can cause white cabinets to yellow over time and can even soften the paint film, making it feel sticky to the touch. Bleach is equally dangerous because it can cause spotting and uneven fading on pigmented finishes.
Check your labels for these specific ingredients to avoid:
- Ammonia: Found in many glass cleaners; causes yellowing and finish breakdown.
- High-concentration Citrus: Often too acidic for certain topcoats, leading to a loss of gloss.
- Petroleum-based solvents: These can dissolve the binders in the paint.
- Industrial Degreasers: These are designed for shop floors, not residential professional cabinet refinishing projects.
Scouring pads and steel wool are the fastest way to ruin a professional job. These tools create micro-scratches that trap dirt and bacteria. If a stain doesn’t come off with a soft microfiber cloth, don’t force it with an abrasive. Hard-wearing coatings are durable, but they aren’t bulletproof against metal fibers or harsh acids. Protecting your investment requires a gentle approach to how to clean painted kitchen cabinets without compromising the underlying material.
A Professional Framework for Daily and Deep Cleaning
Cabinet Refinishing Boulder understands that maintaining a factory finish requires a consistent strategy. We call this the “Clean as You Go” philosophy. This approach prevents grease polymerization. Polymerization is a chemical process where cooking oils and airborne fats bond with the paint surface over time. Once this bond hardens, it becomes a sticky film that is nearly impossible to remove without aggressive scrubbing. Understanding how to clean painted kitchen cabinets starts with stopping this chemical bonding before it begins.
Proper preparation is just as vital for maintenance as it is for the kitchen cabinet refinishing process. In our 40 plus years of experience, we’ve seen how neglect leads to premature wear. A seasonal deep clean should happen every 90 days. This involves moving beyond a simple wipe down. You must inspect the undersides of the upper cabinets and the edges near the stove where grease accumulation is highest. If you wait a year to clean these specific spots, the finish may suffer permanent staining or softening.
The Daily Maintenance Routine
Daily care keeps your kitchen looking like a professional showroom. Focus your attention on high-touch areas like handles, knobs, and the vertical edges of the doors. These spots collect skin oils that can break down paint over time. Use a high-GSM microfiber cloth for this task. We recommend a weight of at least 300 GSM. These cloths are the gold standard because they trap particles instead of dragging them across the paint surface. Wipe up spills immediately. Don’t let liquids harden and bond to the coating. If a spill dries completely, you risk damaging the finish when you try to remove it later.
Dealing with Boulder Dust and Humidity
The dry Colorado climate creates unique challenges for homeowners in Boulder and Denver. Low humidity levels, which often dip below 25 percent, lead to increased static electricity on painted surfaces. This static acts like a magnet for dust. It settles deeply into cabinet molding and decorative trim. High-altitude environments also see more intense UV exposure, which can make dust appear more prominent on dark finishes. Use a damp microfiber cloth once a week to neutralize the static charge. This simple step prevents the gritty buildup that makes cabinets look aged. Learning how to clean painted kitchen cabinets in this environment requires consistency to fight the constant dust accumulation.
Step-by-Step: How to Clean Painted Kitchen Cabinets Safely
Proper maintenance protects your investment. At Cabinet Refinishing Boulder, we’ve seen how improper cleaning ruins high-end finishes in homes across Denver and Arvada. Follow these professional steps to keep your surfaces looking like new without compromising the paint bond.
Step 1: Dry Dusting. Use a clean microfiber cloth to remove loose dust and particulates. Skipping this step causes micro-scratches when you apply liquid cleaners. Dust acts like sandpaper under pressure, so get it off the surface first.
Step 2: Prepare the Solution. Mix lukewarm water with a few drops of mild, pH-neutral dish soap. Avoid harsh detergents or citrus-based cleaners. These can strip the sheen from professional coatings over time.
Step 3: Wash and Dry Using the ‘Two-Cloth’ Technique. This method is vital for protecting the integrity of your cabinet doors. Use one damp cloth for washing and a second, bone-dry microfiber cloth for immediate drying. Dip the damp cloth into your prepared solution, wring it out well, and gently wipe down a section of your cabinets. Immediately follow with the dry cloth to remove all moisture. Never let water sit or air dry on a cabinet door. Standing water can seep into the seams of the cabinet panels, causing the wood to swell or the paint to lift. We’ve spent 45 years perfecting factory-like finishes, and moisture is the primary enemy of those results. Always use lukewarm water. Boiling water can soften the paint layer and lead to premature wear.
Step 4: Address Stubborn Grease (If Needed). Cooking grease accumulates quickly in kitchens in Lafayette and Broomfield, especially near the range. If soap and water aren’t enough to remove heavy buildup, you may need a targeted approach. Use a professional-grade cleaner like Krud Kutter, diluted according to the bottle instructions for painted surfaces. Always test new cleaners on the back of a drawer front first to ensure there’s no reaction. Apply the diluted degreaser only to the areas with heavy buildup, using a soft cloth and gentle circular motions. Avoid using abrasive sponges or scouring pads that will destroy the topcoat. If you scrub too hard, you’ll burnish the paint, creating a permanent shiny spot that doesn’t match the rest of the kitchen. Immediately wipe away the degreaser residue with a clean, damp cloth, and then dry the area thoroughly with a clean, dry microfiber cloth.
Step 5: Final Inspection and Buffing. Once the cabinets are clean and dry, do a final pass with a fresh microfiber cloth. This buffs the surface for a streak-free shine. It also allows you to check for any missed spots or drips that could damage the finish if left overnight.
Knowing how to clean painted kitchen cabinets correctly extends the life of your kitchen remodel by years. If your cabinets are beyond cleaning and need a professional factory finish, contact our expert team for a quote.
When Cleaning Isn’t Enough: Signs You Need Professional Refinishing
Knowing how to clean painted kitchen cabinets is essential for daily maintenance, but cleaning cannot restore a failing finish. If your cabinets look dull or dingy even after a thorough scrub, you likely have paint failure rather than simple surface dirt. Cleaning an aged or poorly applied finish often accelerates damage by stripping away what remains of the protective topcoat. At this stage, scrubbing only exposes more of the vulnerable wood underneath.
Diagnosing Finish Damage
Check the areas around your cabinet handles and knobs first. This is where “wear-through” typically starts. Constant contact with skin oils and sweat causes standard house paint to soften and detach from the wood. If you notice the original wood grain or a previous paint color peeking through, no amount of soap will fix it. You have reached the end of the coating’s functional lifespan.
Sticky cabinets are another major red flag. If the doors remain tacky or “grabby” to the touch after you follow the standard steps for how to clean painted kitchen cabinets, the paint has suffered chemical breakdown. This often happens because an amateur house painter used a standard latex product instead of a professional grade industrial coating. These sticky surfaces trap dust and bacteria, making them nearly impossible to keep sanitary without a full strip and refinish.
The Professional Solution
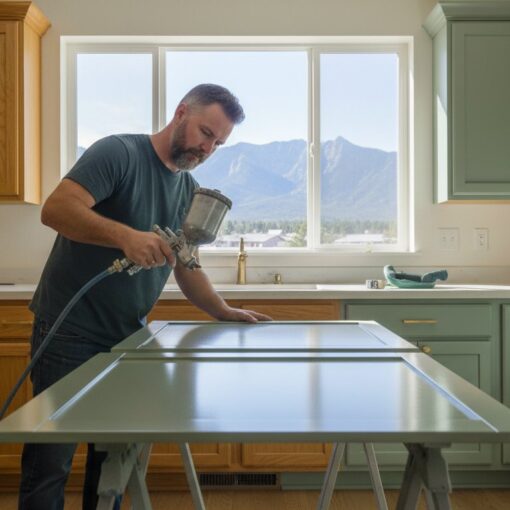
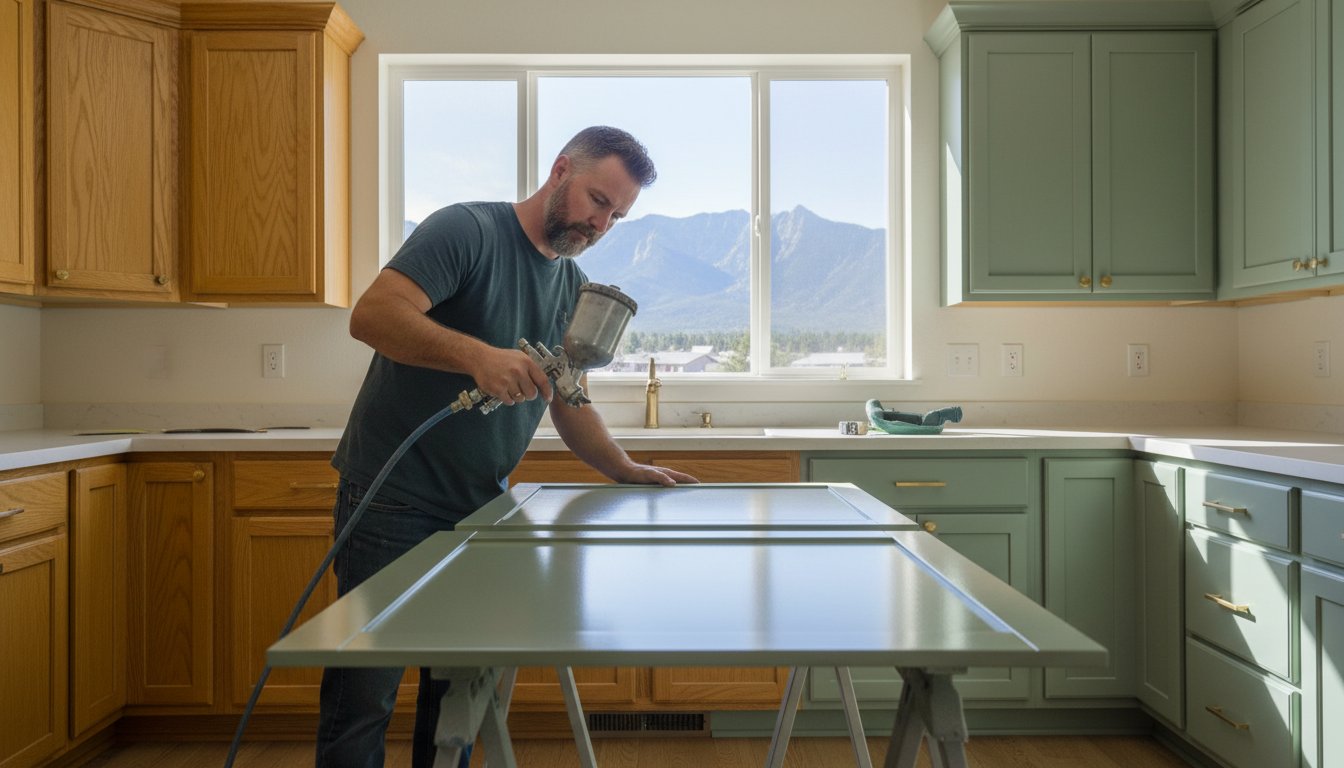
When scrubbing fails, you must weigh the time spent on frustrating maintenance against the cost to refinish cabinets. Professional refinishing is not the same as a DIY paint job. We use high-performance, sprayed factory finishes that create a non-porous, hard-wearing surface. This professional coating is 10x easier to clean than brushed-on paint because it resists moisture and grease penetration rather than absorbing it.
Cabinet Refinishing Boulder brings 45 plus years of experience to every kitchen project in Denver, Lafayette, and Arvada. We specialize in converting worn, outdated cabinets into durable features that look like they just came off the showroom floor. Our proven system includes meticulous preparation and professional masking to protect your appliances and floors. This level of detail ensures your kitchen stays beautiful for years without the frustration of peeling, chipping, or cracking paint.
Boulder homeowners can get a fast, accurate estimate without a high-pressure sales pitch. Simply text us the number of doors and drawers in your kitchen along with a few photos of your current setup. We provide clear, direct communication so you can decide if refinishing is the right move for your home update.
Maintain Your Kitchen Investment
Proper maintenance is the only way to protect your specialized cabinet coatings. Mastering how to clean painted kitchen cabinets is essential for avoiding harsh chemicals and abrasive tools that destroy the factory finish. Regular, gentle cleaning prevents grease buildup and keeps the surfaces looking sharp. If your cabinets show deep scratches, peeling, or persistent stains, cleaning won’t fix the underlying issue. These are signs that your kitchen needs a professional update rather than a scrub brush.
Cabinet Refinishing Boulder brings 38 years of local experience to every project. We specialize in a factory-finish spray application that provides a durable, smooth surface standard house painters can’t match. We’ve completed hundreds of projects across the Denver area since 1985. You can skip the stress of a full remodel and get a high-end look for a fraction of the cost. Ready for a fresh start? Text Cabinet Refinishing Boulder for a fast, free estimate on your kitchen transformation! Just text photos of your doors and drawers to get started on your professional estimate. Your kitchen deserves a finish that lasts for years.
Frequently Asked Questions
Can I use Dawn dish soap to clean my painted cabinets?
Yes, mild dish soap like Dawn is the safest option for cleaning painted surfaces. It breaks down grease without the harsh chemicals found in abrasive cleaners. Mix two drops of soap with a quart of warm water. This gentle solution protects the factory finish we provide at Cabinet Refinishing Boulder. Wipe the surface with a damp cloth and dry it immediately to prevent moisture from soaking into the wood.
How do I get stubborn grease off painted cabinets without removing the paint?
You can remove stubborn grease by applying a paste of baking soda and water or using a professional grade degreaser. For 90 percent of grease buildup, a warm soap solution left on the spot for 60 seconds works best. Avoid scrubbing with steel wool or abrasive pads. These tools will scratch the coating and ruin the look of your kitchen. Our team in Arvada always recommends soft sponges to maintain the integrity of the finish.
Is it safe to use vinegar and water on painted kitchen cabinets?
Vinegar is safe if you dilute it properly, but it shouldn’t be your first choice. The acidity in vinegar can dull a high quality finish over time if used daily. If you must use it, mix one part white vinegar with two parts warm water. This ratio is effective for 100 percent of mineral deposits. Always follow up with a clean water rinse to ensure no acid remains on your Cabinet Refinishing Boulder project.
How often should I deep clean my kitchen cabinets?
You should perform a deep clean every 3 to 6 months depending on how often you cook. Weekly spot cleaning around handles and stove areas prevents grease from hardening. Regular maintenance preserves the professional coatings we apply during our refinishing process. Keeping a schedule ensures your Denver home maintains its value. It also saves you the cost of premature repairs or full cabinet replacement.
What is the best cloth to use for cleaning high-gloss or satin painted cabinets?
Microfiber cloths are the best tool for cleaning high gloss or satin finishes. These cloths have 200,000 fibers per square inch, which trap dirt without scratching the surface. Paper towels are too abrasive and can leave fine swirl marks on your paint. Using a clean microfiber cloth ensures a streak free shine every time. This is a vital factor in maintaining the factory like finish we provide in Broomfield.
Why do my cabinets still feel sticky even after I’ve cleaned them?
Stickiness usually means there’s a layer of polymerized grease or the paint finish is failing. If the surface was painted by amateur house painters using cheap latex, the oils from your hands can soften the coating. This creates a permanent tacky feeling that cleaning won’t fix. In these cases, 100 percent of the time the only solution is a professional refinishing. We use hard wearing coatings that resist this type of chemical breakdown.
Can I use a steam cleaner on my painted cabinet doors?
No, you should never use a steam cleaner on painted or refinished cabinets. The high heat and pressurized moisture will cause the paint to peel or bubble within minutes. This damage is often irreversible and requires a full sand down to fix. Stick to damp wiping and immediate drying to keep your surfaces safe. Our 45 years of experience in the Boulder area shows that moisture is the primary enemy of wood finishes.
Does cleaning painted cabinets too often wear down the finish?
Frequent cleaning with soft cloths and mild soap won’t wear down a professional finish. However, using harsh chemicals or abrasive sponges will degrade the coating after just 10 to 15 cleanings. Knowing how to clean painted kitchen cabinets correctly is the key to longevity. Our spray applications are designed to be durable. They withstand regular maintenance for 15 to 20 years when handled with the right care and products.


